Getting Started with Apple's Foundation Models

Sponsored
Sponsor This Blog
Connect with a targeted audience of iOS developers and Swift engineers. Promote your developer tools, courses, or services.
Learn More →In a previous blog post, we covered the basics of using Anthropic API and Model Context Protocol to create a chat application. At WWDC 2025, Apple introduced Foundation Models — a new way to integrate AI capabilities directly into your apps. The framework gives developers access to Apple's on-device large language models (LLMs) that power Apple Intelligence. The text-based model generates new text that's appropriate for the request you make, and can intelligently decide when to invoke your app's custom tools to perform specialized tasks.
In this blog post, we'll try to rewrite the project from the previous blog post using the Foundation Models framework.
Checking for availability
Foundation Models are available across all Apple platforms starting with version 26. However, there are device-specific limitations to consider:
- The device must support Apple Intelligence. The full list of supported devices is available here;
- The device must have Apple Intelligence turned on in System Settings;
- The device must have sufficient battery and not be in Game Mode.
Additionally, the model may take some time to download and initialize after Apple Intelligence is enabled.
Let's start with a simple view and check for model availability. We'll use SystemLanguageModel.default.availability to check if the model is available:
import SwiftUI
import FoundationModels

struct ContentView: View {

    var body: some View {
        switch SystemLanguageModel.default.availability {
        case .available:
            // Show chat UI
        case .unavailable(let reason):
            let text = switch reason {
            case .appleIntelligenceNotEnabled:
                "Apple Intelligence is not enabled. Please enable it in Settings."
            case .deviceNotEligible:
                "This device is not eligible for Apple Intelligence. Please use a compatible device."
            case .modelNotReady:
                "The language model is not ready yet. Please try again later."
            @unknown default:
                "The language model is unavailable for an unknown reason."
            }
            ContentUnavailableView(text, systemImage: "apple.intelligence.badge.xmark")
        }
    }
}
If the model is not available, users will see a message about it:

Otherwise, we can start using a session.
Creating session
Let's create a session to interact with the model:
struct ContentView: View {
    @State var session = LanguageModelSession()
}
You can also customize the session with parameters:
model. By default, the session uses the default model viaSystemLanguageModel.default. You can use a custom pretrained model, check a link for more information in the references below;guardrails. Controls the guardrails setting for prompt and response filtering. For now, it is used by default and can't be disabled;tools. A set of tools to use in the session. We'll cover it in the next sections;instructions. A set of instructions configured byInstructionsBuilder.
Let's define custom instructions for the session:
@State var session = LanguageModelSession {
    """
    You're a health coach. You help users manage their health by providing personalized recommendations based on their blood pressure data.
    """
}
With InstructionsBuilder, you can configure the instructions in a declarative way, adding more context, rules, and examples.
You can also prewarm the session to improve the response time:
struct ContentView: View {
    @State var session = LanguageModelSession {
        """
        You're a health coach. You help users manage their health by providing personalized recommendations based on their blood pressure data.
        """
    }

    var body: some View {
        switch SystemLanguageModel.default.availability {
        case .available:
            List {
                // Show chat UI
            }
            .onAppear {
                session.prewarm()
            }
        case .unavailable(let reason):
            // Show UI
        }
    }
}
Now we're ready to create an interface to send messages to the model.
Creating inputs
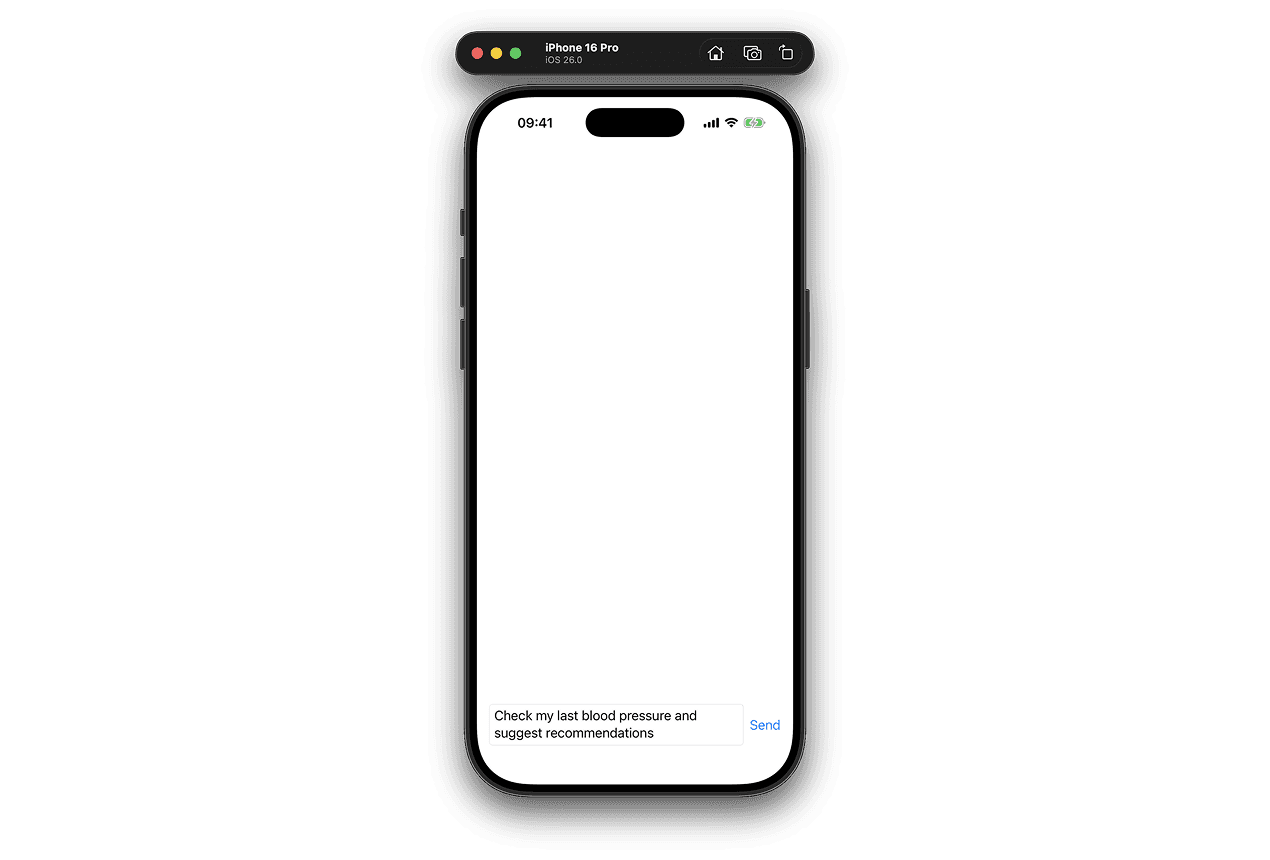
Now, let's add a text field to send messages to the session:
@State var inputText = "Check my last blood pressure and suggest recommendations"

List {
    // Show chat UI
}
.safeAreaInset(edge: .bottom) {
    HStack {
        TextField("Type a message...", text: $inputText, axis: .vertical)
            .textFieldStyle(.roundedBorder)
            .disabled(session.isResponding)
        Button("Send") {
            sendMessage()
        }
        .disabled(inputText.isEmpty || session.isResponding)
    }
    .padding()
    .background(Color(.systemBackground))
}

private func sendMessage() {
    // Send message to the model
}
The session takes time to respond. You can check the isResponding property to show a loading indicator or disable elements.
Now we can send messages to the session.
Sending messages
Messages can be sent to the language model using the respond(to:) method on the session.
private func sendMessage() {
    Task {
        do {
            let prompt = inputText
            inputText = ""
            let response = try await session.respond(to: prompt)
            print(response)
        }
        catch {
            print(error.localizedDescription)
        }
    }
}
Additionally, you can pass GenerationOptions to customize the generation. It's a struct with the following properties:
sampling. A type that defines how values are sampled from a probability distribution;temperature. Temperature influences the randomness or creativity of the model's responses. The range is from 0 to 2. Low temperatures manifest as more stable and predictable responses, while high temperatures give the model more creative license;maximumResponseTokens. The maximum number of tokens to generate.
For our example, we'll use default options. Let's run the app, send a message, and see the response:
Response<String>(userPrompt: "Check my last blood pressure and suggest recommendations",
                 duration: 14.345500042,
                 content: "I\'m sorry, but as a chatbot created by Apple, I\'m unable to access or analyze your personal health data, including your last blood pressure reading...)"
According to the response, the duration of the request is around 14 seconds. You can also stream the response to get a partial result as it's being generated:
let stream = session.streamResponse(to: prompt)
for try await response in stream {
    print(response)
}
Streaming improves the UX by displaying results in real time. Here is an example of the response:
I
I'm sorry, but
I'm sorry, but as an AI chatbot
I'm sorry, but as an AI chatbot created by Apple
I'm sorry, but as an AI chatbot created by Apple, I'
I'm sorry, but as an AI chatbot created by Apple, I'm unable to access your
I'm sorry, but as an AI chatbot created by Apple, I'm unable to access your medical records or specific blood pressure
...
We got the response, great! But it's also important to handle errors:
catch let error as LanguageModelSession.GenerationError {
    print(error.localizedDescription)
}
The session can throw errors for various reasons, such as unsupported languages or exceeding token limits.
The session can't access your personal health data, so it's unable to provide a relevant response. Modern LLMs support Model Context Protocol, so you can use it to pass additional context to the model. Foundation Models framework implement a part of this protocol called Tools. Let's create a tool to get the blood pressure data.
Using tools
Tools enable dynamic data fetching or runtime actions, giving the model access to real-world data. Let's create a tool to get the blood pressure data from Apple Health:
import FoundationModels
import HealthKit

final class BloodPressureTool: Tool {
    let name = "blood_pressure"
    let description = "Get the latest blood pressure (systolic and diastolic) from Apple Health."

    @Generable
    struct Arguments {}

    func call(arguments: Arguments) async throws -> GeneratedContent {
        GeneratedContent("")
    }
}
The tool must have a name and description. It also must implement call(arguments:) method to perform the tool's action. Tool protocol has Arguments associated type that the session use to pass arguments to the tool. Our tool doesn't require any arguments, so we'll use an empty struct with @Generable macros:
@Generable
struct Arguments {}
The macro generates the necessary schema and helper types to pass arguments between your app and the model session. If you expand the macro, you'll see the code like:
nonisolated static var generationSchema: FoundationModels.GenerationSchema {
    FoundationModels.GenerationSchema(
        type: Self.self,
        properties: [

        ]
    )
}

nonisolated var generatedContent: GeneratedContent {
    GeneratedContent(
        properties: [:]
    )
}

nonisolated struct PartiallyGenerated: Identifiable, ConvertibleFromGeneratedContent {
    var id: GenerationID
    nonisolated init(_ content: FoundationModels.GeneratedContent) throws {
        self.id = content.id ?? GenerationID()
    }
}
Without @Generable macro, you'll need to implement the code above manually, so it's better to use it and ignore the warning.
Let's reuse the code for Apple Health from the previous blog post. Here is the final version of the tool:
import FoundationModels
import HealthKit

final class BloodPressureTool: Tool {
    enum Error: Swift.Error, LocalizedError {
        case missingBloodPressureData

        var errorDescription: String? {
            switch self {
            case .missingBloodPressureData:
                return "Missing blood pressure data"
            }
        }
    }

    let name = "blood_pressure"
    let description = "Get the latest blood pressure (systolic and diastolic) from Apple Health."

    @Generable
    struct Arguments {}

    private let healthStore = HKHealthStore()

    private let systolicType = HKQuantityType(.bloodPressureSystolic)
    private let diastolicType = HKQuantityType(.bloodPressureDiastolic)
    private let bloodPressureType = HKCorrelationType(.bloodPressure)

    func call(arguments: Arguments) async throws -> GeneratedContent {
        let (systolic, diastolic) = try await fetchLatestBloodPressure()
        return GeneratedContent(properties: ["systolic": Int(systolic), "diastolic": Int(diastolic)])
    }

    // MARK: - Private

    private func fetchLatestBloodPressure() async throws -> (systolic: Double, diastolic: Double) {
        try await healthStore.requestAuthorization(toShare: [], read: [systolicType, diastolicType])
        let descriptor = HKSampleQueryDescriptor(predicates: [.sample(type: bloodPressureType)], sortDescriptors: [])
        let samples = try await descriptor.result(for: healthStore)
        guard let sample = samples.first as? HKCorrelation else {
            throw Error.missingBloodPressureData
        }
        guard let systolic = sample.objects(for: systolicType).first as? HKQuantitySample,
              let diastolic = sample.objects(for: diastolicType).first as? HKQuantitySample else {
            throw Error.missingBloodPressureData
        }

        let systolicValue = systolic.quantity.doubleValue(for: .millimeterOfMercury())
        let diastolicValue = diastolic.quantity.doubleValue(for: .millimeterOfMercury())
        return (systolicValue, diastolicValue)
    }
}
Don't forget to add NSHealthShareUsageDescription to the Info.plist and add blood pressure samples to iOS Simulator or real device. To generate an output, we use GeneratedContent to wrap the properties we want to return.
Let's add the tool to the session:
@State var session = LanguageModelSession(tools: [BloodPressureTool()]) {
"""
You're a health coach. You help users manage their health by providing personalized recommendations based on their blood pressure data.
"""
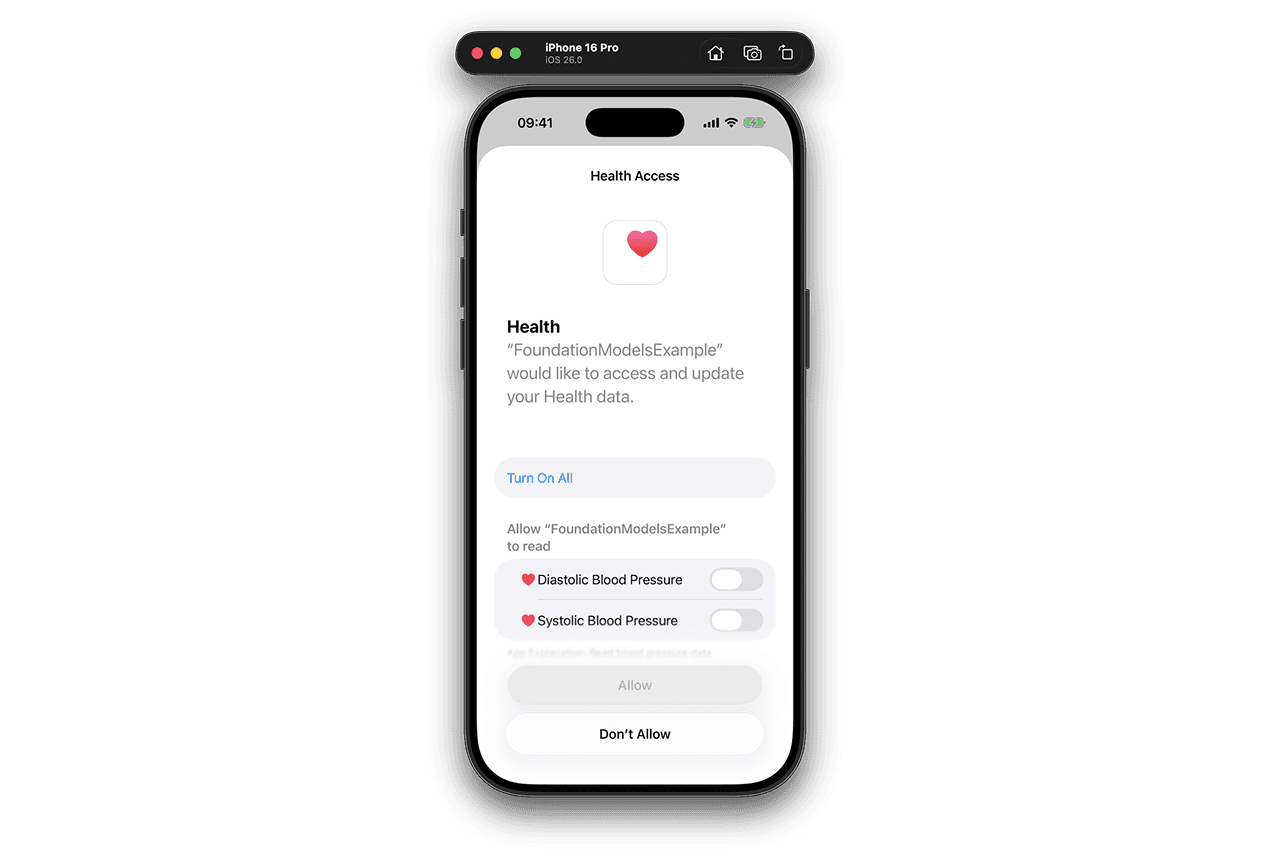
}Let's run the app and send a message to the model. This time, the session will use the tool to get the blood pressure data. The first time you run the app, you'll see a permission dialog to access Apple Health:
When the tool is finished, the session will return the output like:
Based on the latest blood pressure reading, your systolic pressure is 120 mmHg and diastolic pressure is 80 mmHg. Here are some general recommendations to maintain healthy blood pressure:...
Tools can also return errors. We can also handle specific errors from the tool:
Task {
    do {
        let prompt = inputText
        inputText = ""
        let stream = session.streamResponse(to: prompt)
        for try await response in stream {
            print(response)
        }
    }
    catch let error as LanguageModelSession.GenerationError {
        print(error.localizedDescription)
    }
    catch let error as LanguageModelSession.ToolCallError {
        print(error.tool)
        if case .missingBloodPressureData = error.underlyingError as? BloodPressureTool.Error {
            print(error.underlyingError.localizedDescription)
        }
    }
    catch {
        print(error.localizedDescription)
    }
}
Implementing chat interface
While you can manually handle and store messages, the session has a full transcript of the conversation. transcript property is a collection of Transcript.Entry items. Let's update List to show the transcript:
List(session.transcript) { entry in
    switch entry {
        case .prompt(let prompt):
            // Show user prompt
        case .response(let response):
            // Show session response
        case .instructions, .toolCalls, .toolOutput:
            EmptyView()
        @unknown default:
            EmptyView()
    }
}
.listStyle(.plain)
In our implementation, we'll display only user prompts and model responses for clarity. Both prompt and response have segments property that contains Transcript.Segment items. Let's create a view to show the segments:
struct SegmentsView: View {
    let segments: [Transcript.Segment]
    let isUser: Bool

    var body: some View {
        VStack {
            ForEach(segments, id: \.id) { segment in
                switch segment {
                case .text(let text):
                    VStack {
                        Text(LocalizedStringKey(text.content))
                            .padding(8)
                            .background(isUser ? Color.blue.opacity(0.2) : nil)
                            .cornerRadius(8)
                            .contentTransition(.interpolate)
                            .animation(.easeInOut(duration: 0.3), value: text)
                    }
                    .frame(maxWidth: .infinity, alignment: isUser ? .trailing : .leading)
                case .structure:
                    EmptyView()
                @unknown default:
                    EmptyView()
                }
            }
        }
    }
}The response may return content in Markdown format. It may contain links, bold, italic, and other formatting. You can use LocalizedStringKey to show the content.
Let's update the List to show the transcript:
List(session.transcript) { entry in
    switch entry {
    case .prompt(let prompt):
        SegmentsView(segments: prompt.segments, isUser: true)
            .listRowSeparator(.hidden)
    case .response(let response):
        SegmentsView(segments: response.segments, isUser: false)
            .listRowSeparator(.hidden)
    case .instructions, .toolCalls, .toolOutput:
        EmptyView()
    @unknown default:
        EmptyView()
    }
}
.listStyle(.plain)
Here is the final result:

Conclusion
The Foundation Models framework is a powerful new addition to the Apple ecosystem. It allows you to use AI in your apps without sending data to the cloud. Of course, it's not a silver bullet, and you still need to consider the context size and guardrails. Moreover, Apple recommends avoiding its use for some tasks like code generation or math calculations. Despite this, I believe it will significantly shape how we build apps moving forward.
You can find the complete code in the GitHub repository. Thanks for reading!

