Sponsored
Glaze by Raycast
Desktop apps, reimagined by you. Create software for you and your team — it lives on your Mac and connects to your files, tools, and hardware.
Learn More →🏆 Featured in iOS Dev Weekly - Issue 644
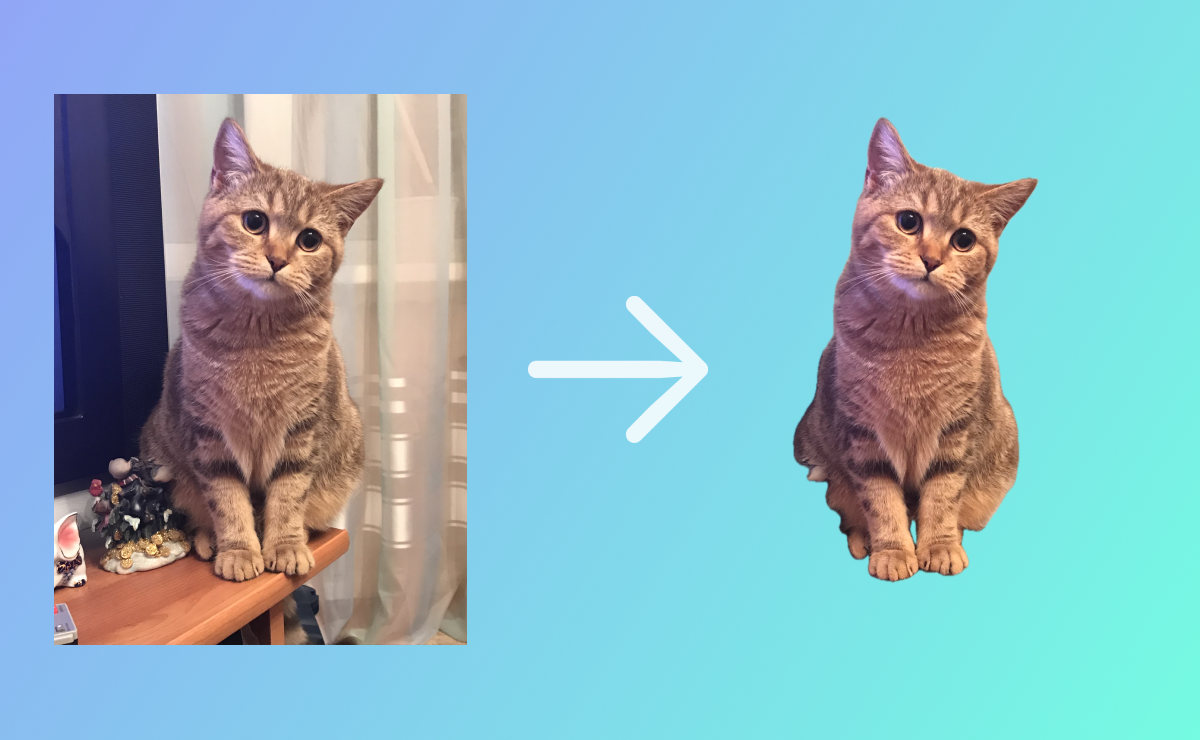
In my last article I implemented a spoiler feature from Telegram. The team at Drawww was inspired by it and asked me to recreate a new feature — removing background from images. Luckily, it's very easy with a new iOS 17 API — VNGenerateForegroundInstanceMaskRequest. Fasten your seatbelts, we're ready to start!
Preparations
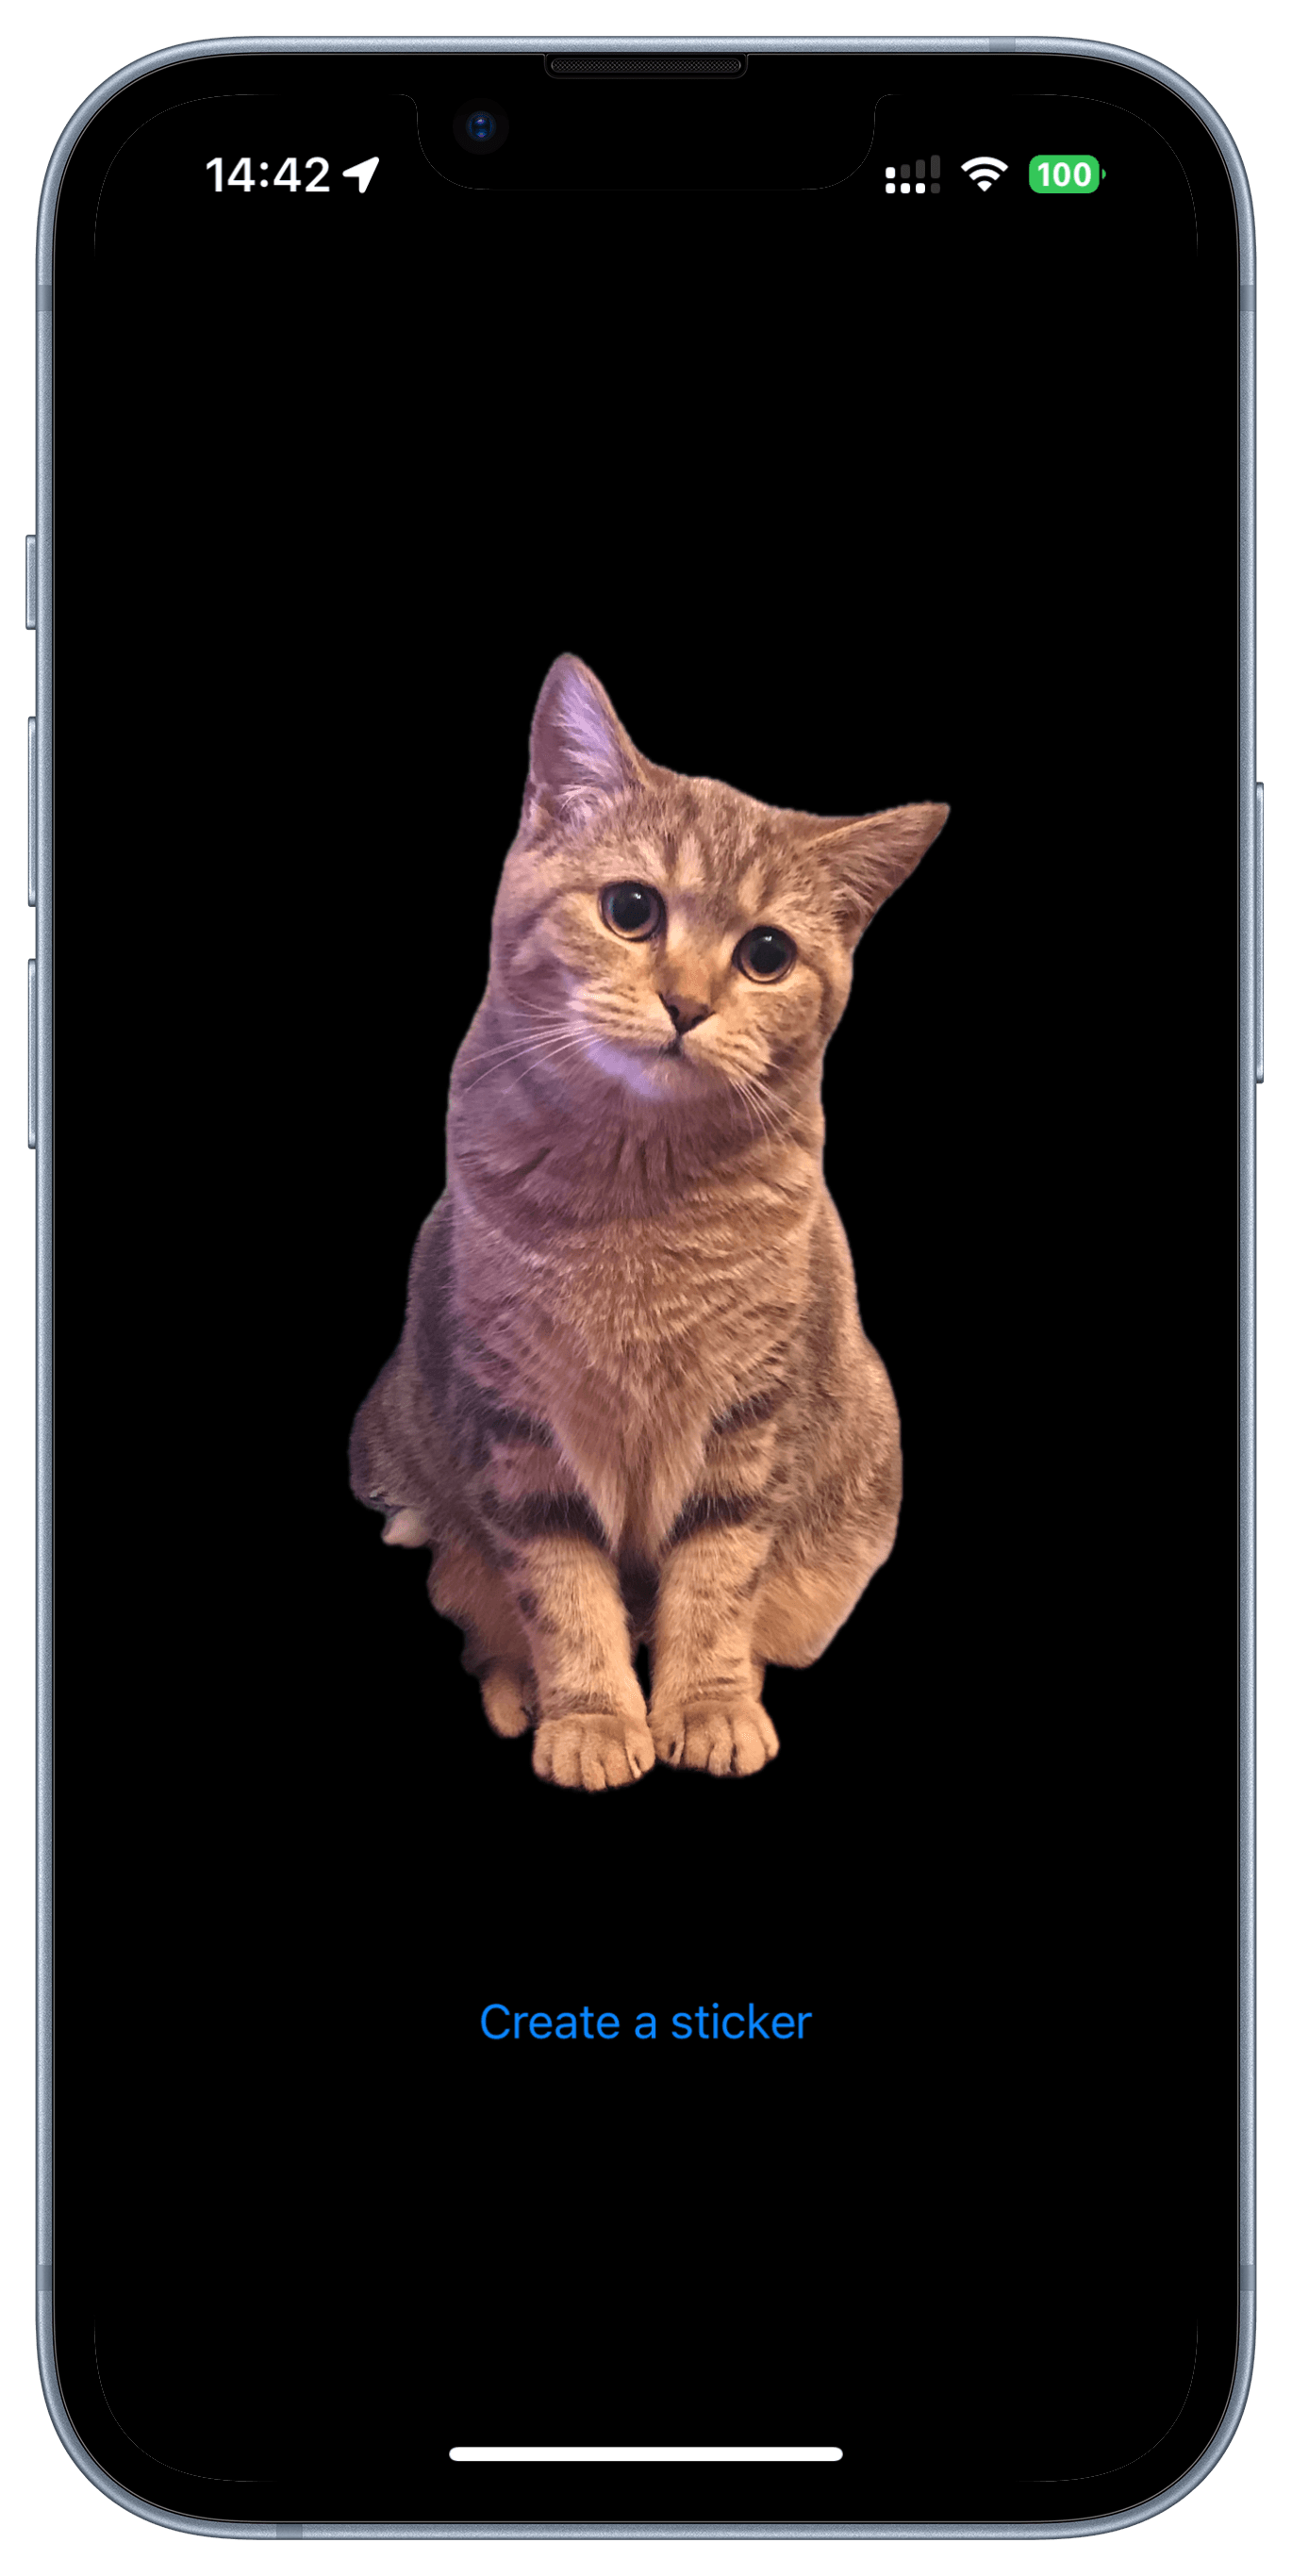
First, we create an image and a button:
struct ContentView: View {

    @State private var image = UIImage.cat

    var body: some View {
        VStack {
            Image(uiImage: image)
                .resizable()
                .scaledToFit()
            Button("Create a sticker") {
                createSticker()
            }
        }
        .padding()
    }

    // MARK: - Private

    private func createSticker() {
        // Main logic
    }
}
I added a photo of my lovely cat Trisha to the app bundle, and here is the result:

Handlers and requests
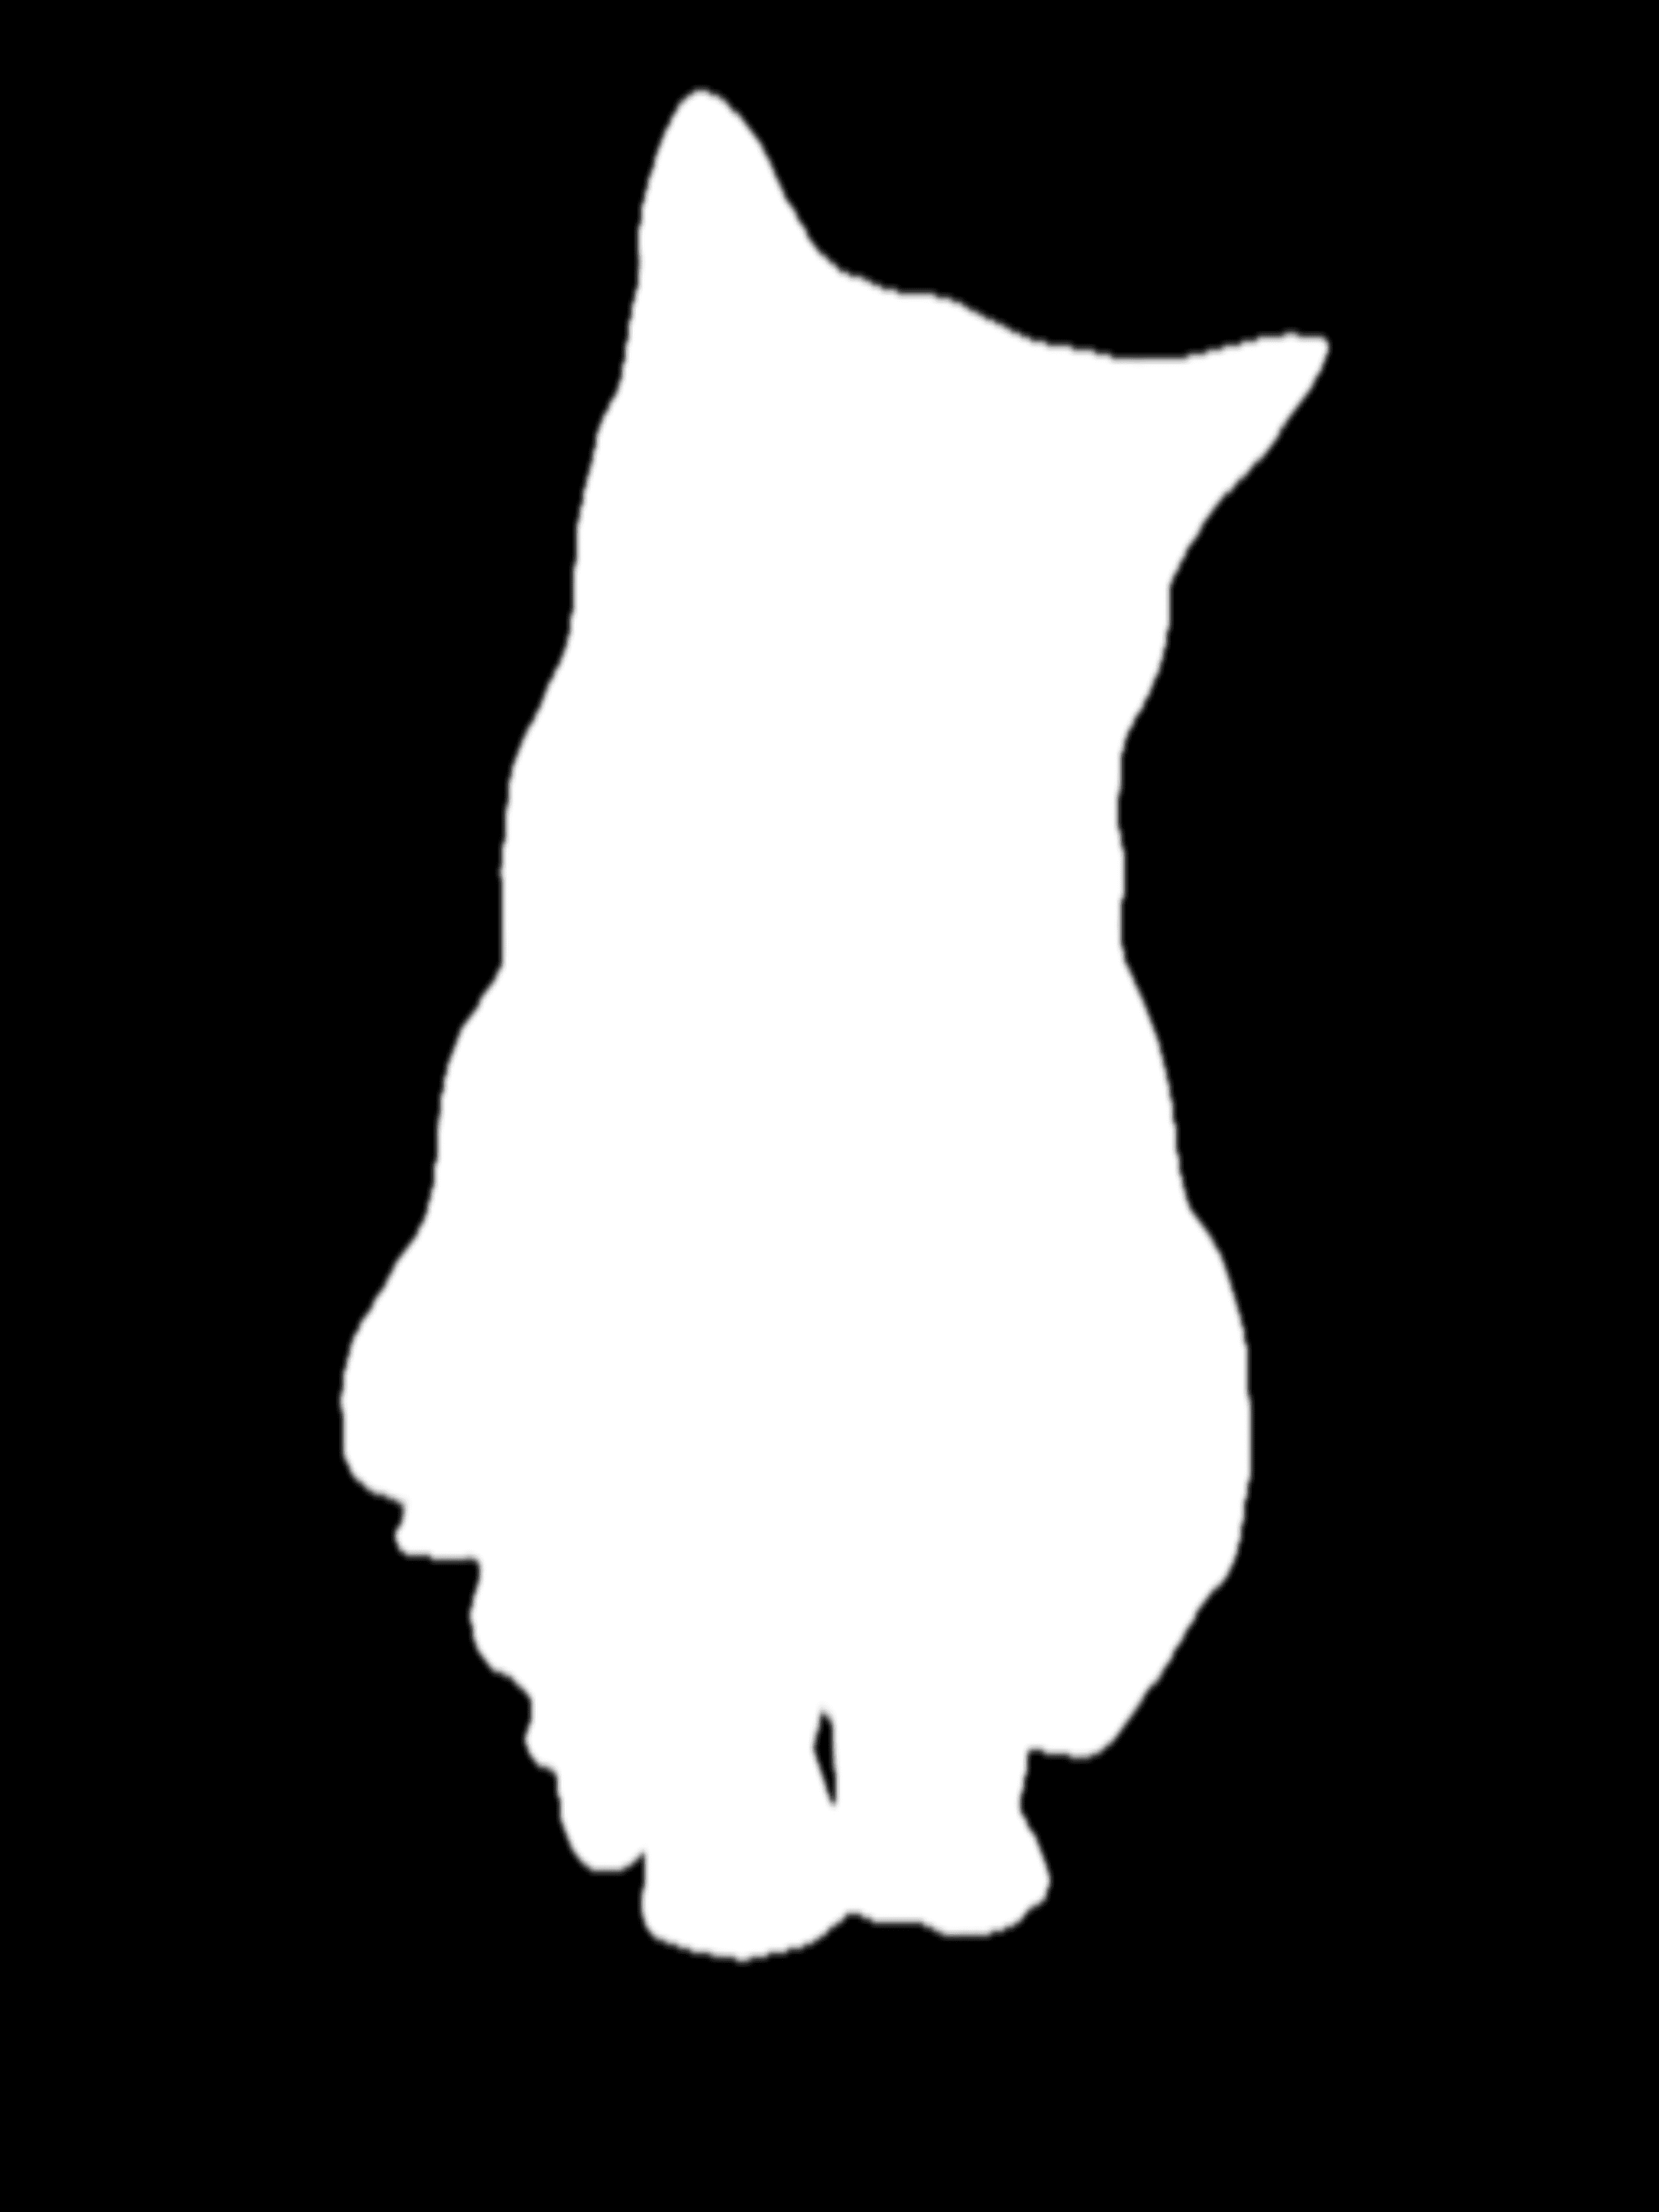
To remove the background from the image, we will generate a mask image and apply it to the original image. Let's create a CIImage, we will use it further:
private func createSticker() {
    guard let inputImage = CIImage(image: image) else {
        print("Failed to create CIImage")
        return
    }
}
Next, let's create a new subjectMaskImage(from:) function, that returns a mask image with foreground objects:
private func subjectMaskImage(from inputImage: CIImage) -> CIImage? {
}
To work with the inputImage, we will use the Vision framework and two main classes:
VNImageRequestHandlerallows to perform image analysis requests pertaining to a single image;VNGenerateForegroundInstanceMaskRequestis a special request that generates an instance mask of noticable objects.
The next step is to perform the request:
// At the top of ContentView
import Vision

// in the subjectMaskImage(from:) function
let handler = VNImageRequestHandler(ciImage: inputImage)
let request = VNGenerateForegroundInstanceMaskRequest()
do {
    try handler.perform([request])
} catch {
    print(error)
    return nil
}
The requests may fail. For example, handler throws an error if you try to run the code on an iOS Simulator:
Domain=com.apple.Vision Code=9 "Could not create inference context" UserInfo={NSLocalizedDescription=Could not create inference context}
The result of the requests is an array of VNInstanceMaskObservation objects. We need to check them, take the first one and generate the mask:
guard let result = request.results?.first else {
    print("No observations found")
    return nil
}
do {
    let maskPixelBuffer = try result.generateScaledMaskForImage(forInstances: result.allInstances, from: handler)
    return CIImage(cvPixelBuffer: maskPixelBuffer)
} catch {
    print(error)
    return nil
}
Now we're ready to call the function and get the mask image:
private func createSticker() {
    guard let inputImage = CIImage(image: image) else {
        print("Failed to create CIImage")
        return
    }
    guard let maskImage = subjectMaskImage(from: inputImage) else {
        print("Failed to create mask image")
        return
    }
}
This is what we got:
Applying mask
The mask is ready, therefore we're ready to apply it to the original image. With the help of CIFilter.blendWithMask(), we can generate a final image:
// At the top of ContentView
import CoreImage.CIFilterBuiltins

private func apply(mask: CIImage, to image: CIImage) -> CIImage {
    let filter = CIFilter.blendWithMask()
    filter.inputImage = image
    filter.maskImage = mask
    filter.backgroundImage = CIImage.empty()
    return filter.outputImage!
}
Finally, we render the result to a UIImage:
private func render(ciImage: CIImage) -> UIImage {
    guard let cgImage = CIContext(options: nil).createCGImage(ciImage, from: ciImage.extent) else {
        fatalError("Failed to render CGImage")
    }
    return UIImage(cgImage: cgImage)
}
Put it all together and check the result! Note that performing the requests is a time-consuming operation. So we'll add a separate queue to prevent main thread blocking:
// In ContentView
private var processingQueue = DispatchQueue(label: "ProcessingQueue")

private func createSticker() {
    guard let inputImage = CIImage(image: image) else {
        print("Failed to create CIImage")
        return
    }
    processingQueue.async {
        guard let maskImage = subjectMaskImage(from: inputImage) else {
            print("Failed to create mask image")
            DispatchQueue.main.async {
                isLoading = false
            }
            return
        }
        let outputImage = apply(maskImage: maskImage, to: inputImage)
        let image = render(ciImage: outputImage)
        DispatchQueue.main.async {
            self.image = image
        }
    }
}
That's it! But the transition between states looks a bit boring, let's add some animations and magic particles.
Animation and particles 💅
We create a StickerView with two bindings: an original image and a generated sticker.
import SwiftUI

struct StickerView: View {

    @Binding var image: UIImage
    @Binding var sticker: UIImage?

    var body: some View {
        ZStack {
            originalImage
            stickerImage
        }
    }

    // MARK: - Private

    @ViewBuilder
    private var originalImage: some View {
        // Layout for image
    }

    @ViewBuilder
    private var stickerImage: some View {
        // Layout for sticker
    }
When the sticker is set, we'll add some animations:
- Hide the image;
- Bounce the sticker via scale changes;
- Show the particles.
Starting with the original image, we add basic modifiers and an opacity animation based on the sticker's state:
Image(uiImage: image)
   .resizable()
   .scaledToFit()
   .opacity(sticker == nil ? 1 : 0)
   .animation(.easeOut(duration: 1), value: sticker)
Looks better! Now we add the sticker image layout and scale it for highlighting:
// In StickerView
@State private var stickerScale: Double = 1

@ViewBuilder
private var stickerImage: some View {
    if let sticker {
        Image(uiImage: sticker)
            .resizable()
            .scaledToFit()
            .scaleEffect(stickerScale)
            .onAppear {
                withAnimation(.easeOut(duration: 1)) {
                    stickerScale = 1.1
                } completion: {
                    withAnimation(.easeOut(duration: 1)) {
                        stickerScale = 1
                    }
                }
            }
    }
}
It remains only to add the particles. We'll reuse a SpoilerView from the previous article and add it as an overlay for originalImage:
// In StickerView
@State private var spoilerViewOpacity: Double = 0

// Add to originalImage
.overlay {
    SpoilerView(isOn: true)
        .opacity(spoilerViewOpacity)
}

// Update stickerImage
.onAppear {
    withAnimation(.easeOut(duration: 1)) {
        spoilerViewOpacity = 1
        stickerScale = 1.1
    } completion: {
        withAnimation(.linear) {
            spoilerViewOpacity = 0
        }
        withAnimation(.easeOut(duration: 1)) {
            stickerScale = 1
        }
    }
}
Now we can see the final result:

If you want to see the final code, check out StickerViewExample project on Github. I added small changes like a loading state. Feel free to share your thoughts, ask questions and suggest improvements on Twitter. Thank you for reading!