
Sponsored
Sponsor This Blog
Connect with a targeted audience of iOS developers and Swift engineers. Promote your developer tools, courses, or services.
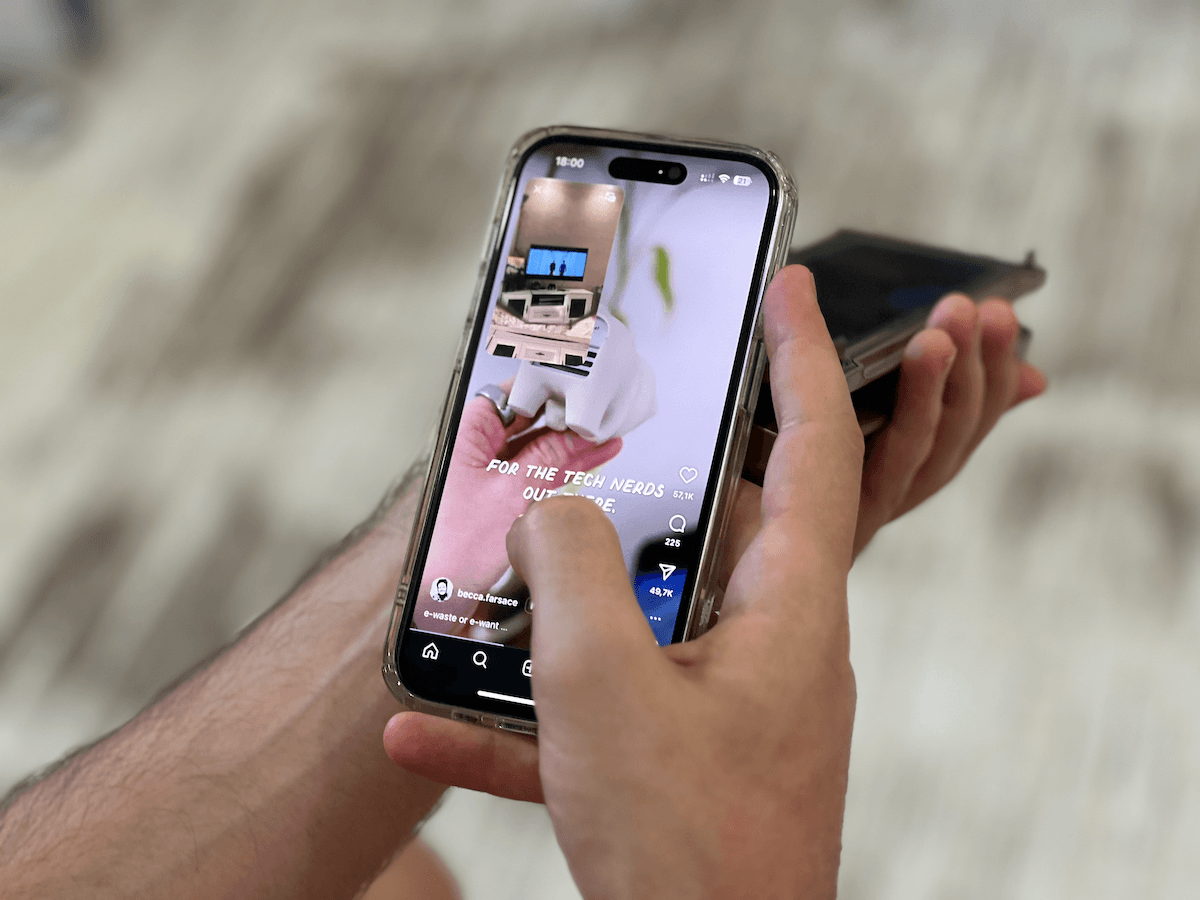
Learn More →Scrolling through Instagram Reels, I came across this crazy iPhone case:
Picture in Picture (PiP) allows users to continue watching video content in a small, movable window while using other apps. It's particularly useful for video calls, streaming, etc.
I've never implemented Picture in Picture mode in my apps, so I decided to recreate the eyePhone app from the reel. Initially, I thought it would be a simple task. I checked the documentation and open-source examples, and thought I could just vibe-code it and get it working easily. However, it turned out to be quite challenging.
I decided to start with a UIKit implementation, because there is no native support for camera capture in SwiftUI. Before implementing PiP, we need to set up the camera feed.
Prefer audio format? Listen to the blog post below:
Showing camera feed
Let's create a new UIKit project, add NSCameraUsageDescription in Info.plist with a message for user.
Next, we need to request access to the camera:
import UIKit
import AVKit

final class ViewController: UIViewController {

    private var isAuthorized: Bool {
        get async {
            let status = AVCaptureDevice.authorizationStatus(for: .video)
            var isAuthorized = status == .authorized
            if status == .notDetermined {
                isAuthorized = await AVCaptureDevice.requestAccess(for: .video)
            }
            return isAuthorized
        }
    }
}
This checks if we have permission to use the camera and requests it if necessary. The async property allows us to use Swift concurrency for this permission check.
Next, we need to configure the capture session:
private lazy var captureSession = AVCaptureSession()
private lazy var sessionQueue = DispatchQueue(label: "video.preview.session")

private func configureSession() {
    let systemPreferredCamera = AVCaptureDevice.default(for: .video)
    guard let systemPreferredCamera,
          let deviceInput = try? AVCaptureDeviceInput(device: systemPreferredCamera) else {
        return
    }

    captureSession.beginConfiguration()
    defer {
        captureSession.commitConfiguration()
    }

    let videoOutput = AVCaptureVideoDataOutput()
    // 1. Set the sample buffer delegate
    videoOutput.setSampleBufferDelegate(self, queue: sessionQueue)

    guard captureSession.canAddInput(deviceInput),
        captureSession.canAddOutput(videoOutput) else {
        return
    }

    captureSession.addInput(deviceInput)
    captureSession.addOutput(videoOutput)

    // 2. Set the video rotation angle and mirror the video
    let videoConnection = videoOutput.connection(with: .video)
    videoConnection?.videoRotationAngle = 270
    videoConnection?.isVideoMirrored = true
}
Here are some important things to note:
- Set the sample buffer delegate to receive the video frames.
- Set the video rotation angle and mirror the video so it appears correctly in PiP mode.
To display the camera feed, we'll use AVSampleBufferDisplayLayer. Let's create a view that uses it:
final class SampleBufferDisplayView: UIView {

    override class var layerClass: AnyClass {
        AVSampleBufferDisplayLayer.self
    }

    var sampleBufferDisplayLayer: AVSampleBufferDisplayLayer {
        layer as! AVSampleBufferDisplayLayer
    }
}
This custom view overrides the default layer with AVSampleBufferDisplayLayer, making it perfect for our camera feed. By overriding layerClass, we're telling UIKit to use our specialized layer type instead of the default CALayer.
In the ViewController, we'll load the SampleBufferDisplayView as the root view:
final class ViewController: UIViewController {

    private lazy var sampleBufferDisplayView = SampleBufferDisplayView()

    override func loadView() {
        view = sampleBufferDisplayView
    }
}
Now we need to implement the AVCaptureVideoDataOutputSampleBufferDelegate protocol to receive the video frames:
extension ViewController: AVCaptureVideoDataOutputSampleBufferDelegate {

    func captureOutput(_ output: AVCaptureOutput, didOutput sampleBuffer: CMSampleBuffer, from connection: AVCaptureConnection) {
        DispatchQueue.main.async {
            self.sampleBufferDisplayView.sampleBufferDisplayLayer.sampleBufferRenderer.enqueue(sampleBuffer)
        }
    }
}
This delegate method is called every time a new video frame is captured. We enqueue the sample buffer on the main thread to update UI.
Finally, let's start the capture session:
override func viewDidLoad() {
    super.viewDidLoad()

    Task {
        guard await isAuthorized else {
            return
        }
        configureSession()
        sessionQueue.async {
            self.captureSession.startRunning()
        }
    }
}
We're using Task to handle the asynchronous permission check. Once we have permission, we configure the session and start it on a dedicated queue.
If we run the app now, we should see the camera feed.
Implementing Picture in Picture
Now that our camera feed is working, let's implement the PiP feature. First, we need to enable Background Modes in Signing & Capabilities:
Audio, AirPlay, and Picture in Picture;Voice over IP.
These settings allow our app to continue using the camera and playing video when it's in PiP mode.
Next, we need to enable the capture session's isMultitaskingCameraAccessEnabled property:
if captureSession.isMultitaskingCameraAccessSupported {
    captureSession.isMultitaskingCameraAccessEnabled = true
}This property is available in iOS 16 and later. Apps with a deployment target earlier than iOS 16 require the com.apple.developer.avfoundation.multitasking-camera-access entitlement to use the camera in PiP mode.
Without enabling this property, your camera feed will stop as soon as the app goes to the background.
Now, let's create and configure the AVPictureInPictureController:
private var pipController: AVPictureInPictureController?

override func viewDidLoad() {
    super.viewDidLoad()

    if AVPictureInPictureController.isPictureInPictureSupported() {
        let source = AVPictureInPictureController.ContentSource(sampleBufferDisplayLayer: sampleBufferDisplayView.sampleBufferDisplayLayer,
                                                                playbackDelegate: self)
        let pipController = AVPictureInPictureController(contentSource: source)
        pipController.canStartPictureInPictureAutomaticallyFromInline = true
        self.pipController = pipController
    }

    // Configure the capture session
}
The ContentSource takes our sampleBufferDisplayLayer and a playback delegate. The delegate is required to handle PiP playback events.
By default, the PiP controller shows playback controls: fast forward, rewind, and play/pause. For a camera feed, these controls don't make sense, so we'll hide them. According to the documentation, you should set requiresLinearPlayback to true:
pipController.requiresLinearPlayback = trueHowever, this does not seem to affect the playback controls. Instead, I found a workaround to hide the playback controls:
// Hides playback controls
pipController.setValue(1, forKey: "controlsStyle")
// Hides close and fullscreen buttons as well
pipController.setValue(2, forKey: "controlsStyle")
Now we need to implement the AVPictureInPictureSampleBufferPlaybackDelegate protocol to handle playback:
extension ViewController: AVPictureInPictureSampleBufferPlaybackDelegate {

    func pictureInPictureController(_ pictureInPictureController: AVPictureInPictureController, setPlaying playing: Bool) {}

    func pictureInPictureControllerTimeRangeForPlayback(_ pictureInPictureController: AVPictureInPictureController) -> CMTimeRange {
        // For live content, return a time range with a duration of positiveInfinity.
        CMTimeRange(start: .zero, duration: .positiveInfinity)
    }

    func pictureInPictureControllerIsPlaybackPaused(_ pictureInPictureController: AVPictureInPictureController) -> Bool {
        false
    }

    func pictureInPictureController(_ pictureInPictureController: AVPictureInPictureController, didTransitionToRenderSize newRenderSize: CMVideoDimensions) {}

    func pictureInPictureController(_ pictureInPictureController: AVPictureInPictureController, skipByInterval skipInterval: CMTime) async {}
}
These methods allow the PiP controller to query your app about the playback state. For a live camera feed:
- We return a time range with infinite duration because it's a live feed;
- We always return
falseforisPlaybackPausedsince our camera is always streaming;
A critical step that's easy to miss is configuring the audio session:
try? AVAudioSession.sharedInstance().setCategory(.playAndRecord, mode: .videoChat)This is essential for PiP to work correctly. Without this configuration, the app won't start PiP mode and won't show any error — it simply won't work.
Let's run the app and swipe up to start PiP mode. Now you'll never miss a TV plot twist — even while watching reels!
Thanks to my wife for the photo and eyeshadow palette with a mirror 🙃
Conclusion
Implementing PiP mode in iOS can be tricky, as there are many nuances to consider. I hope this post will save you some time if you ever need to implement it in your own app.
The final code is available on GitHub.