Bluetooth and SwiftUI. Developing app for RGB stripe control

Sponsored
Sponsor This Blog
Connect with a targeted audience of iOS developers and Swift engineers. Promote your developer tools, courses, or services.
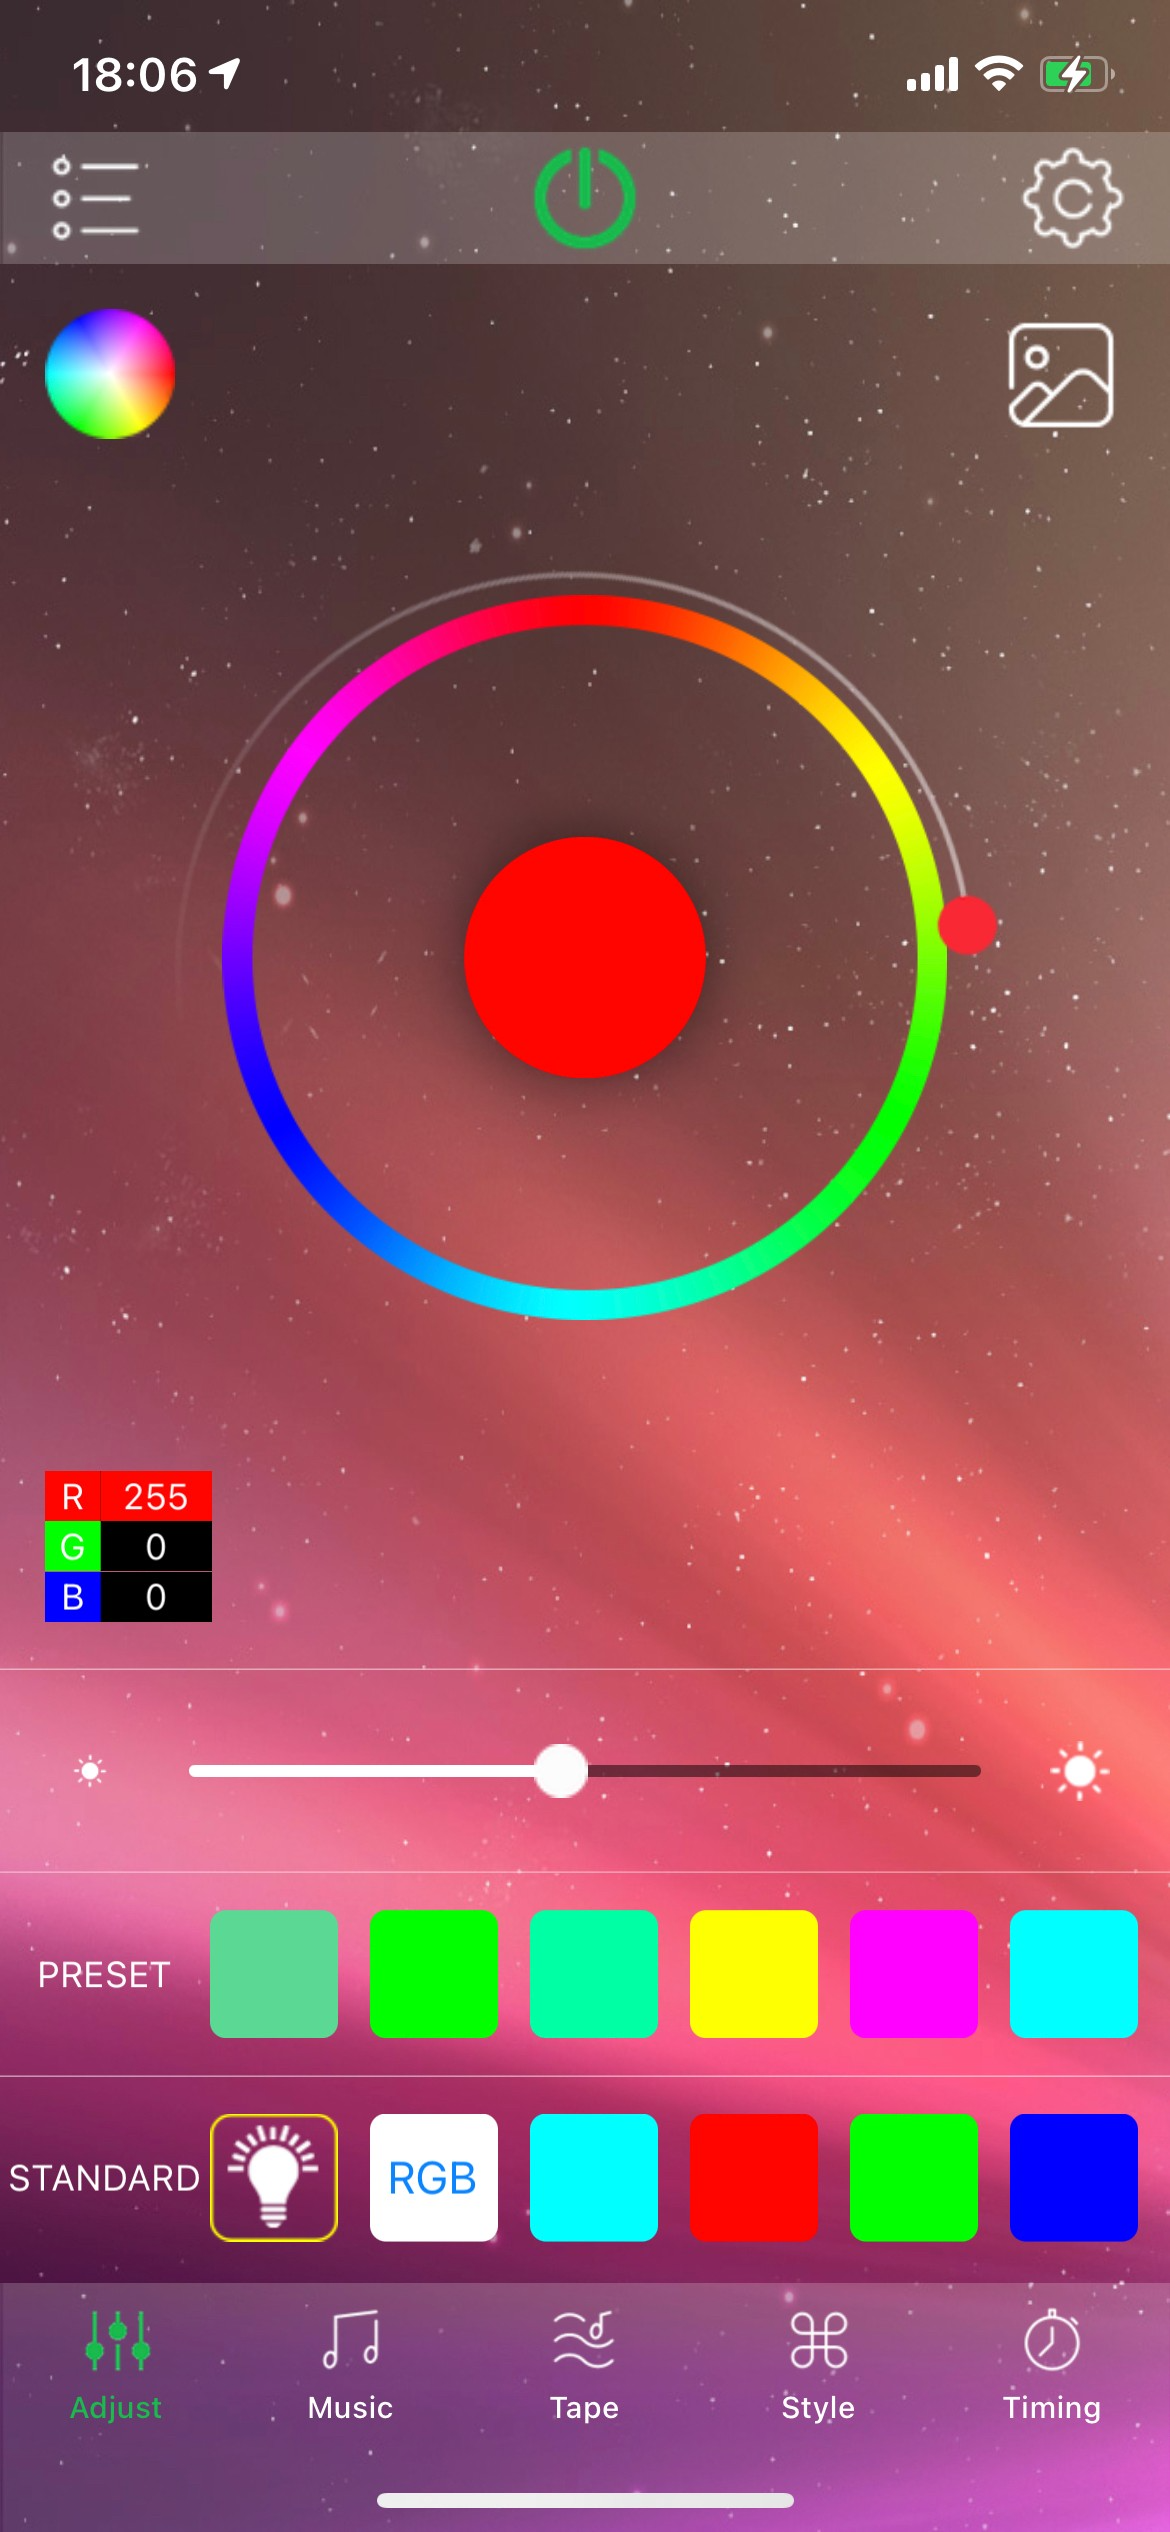
Learn More →Last year I bought BEKANT desk. It looks minimalistic and... boring, so I wanted to add some RGB lightning. I chose a cheap no-name RGB stripe with a controller that works with IR and Bluetooth as well. The seller recommends using HappyLighting app. It works well enough, supports default styles like pulsating and strobe effects, syncs with music and surround sound. But the interface is a bit strange:
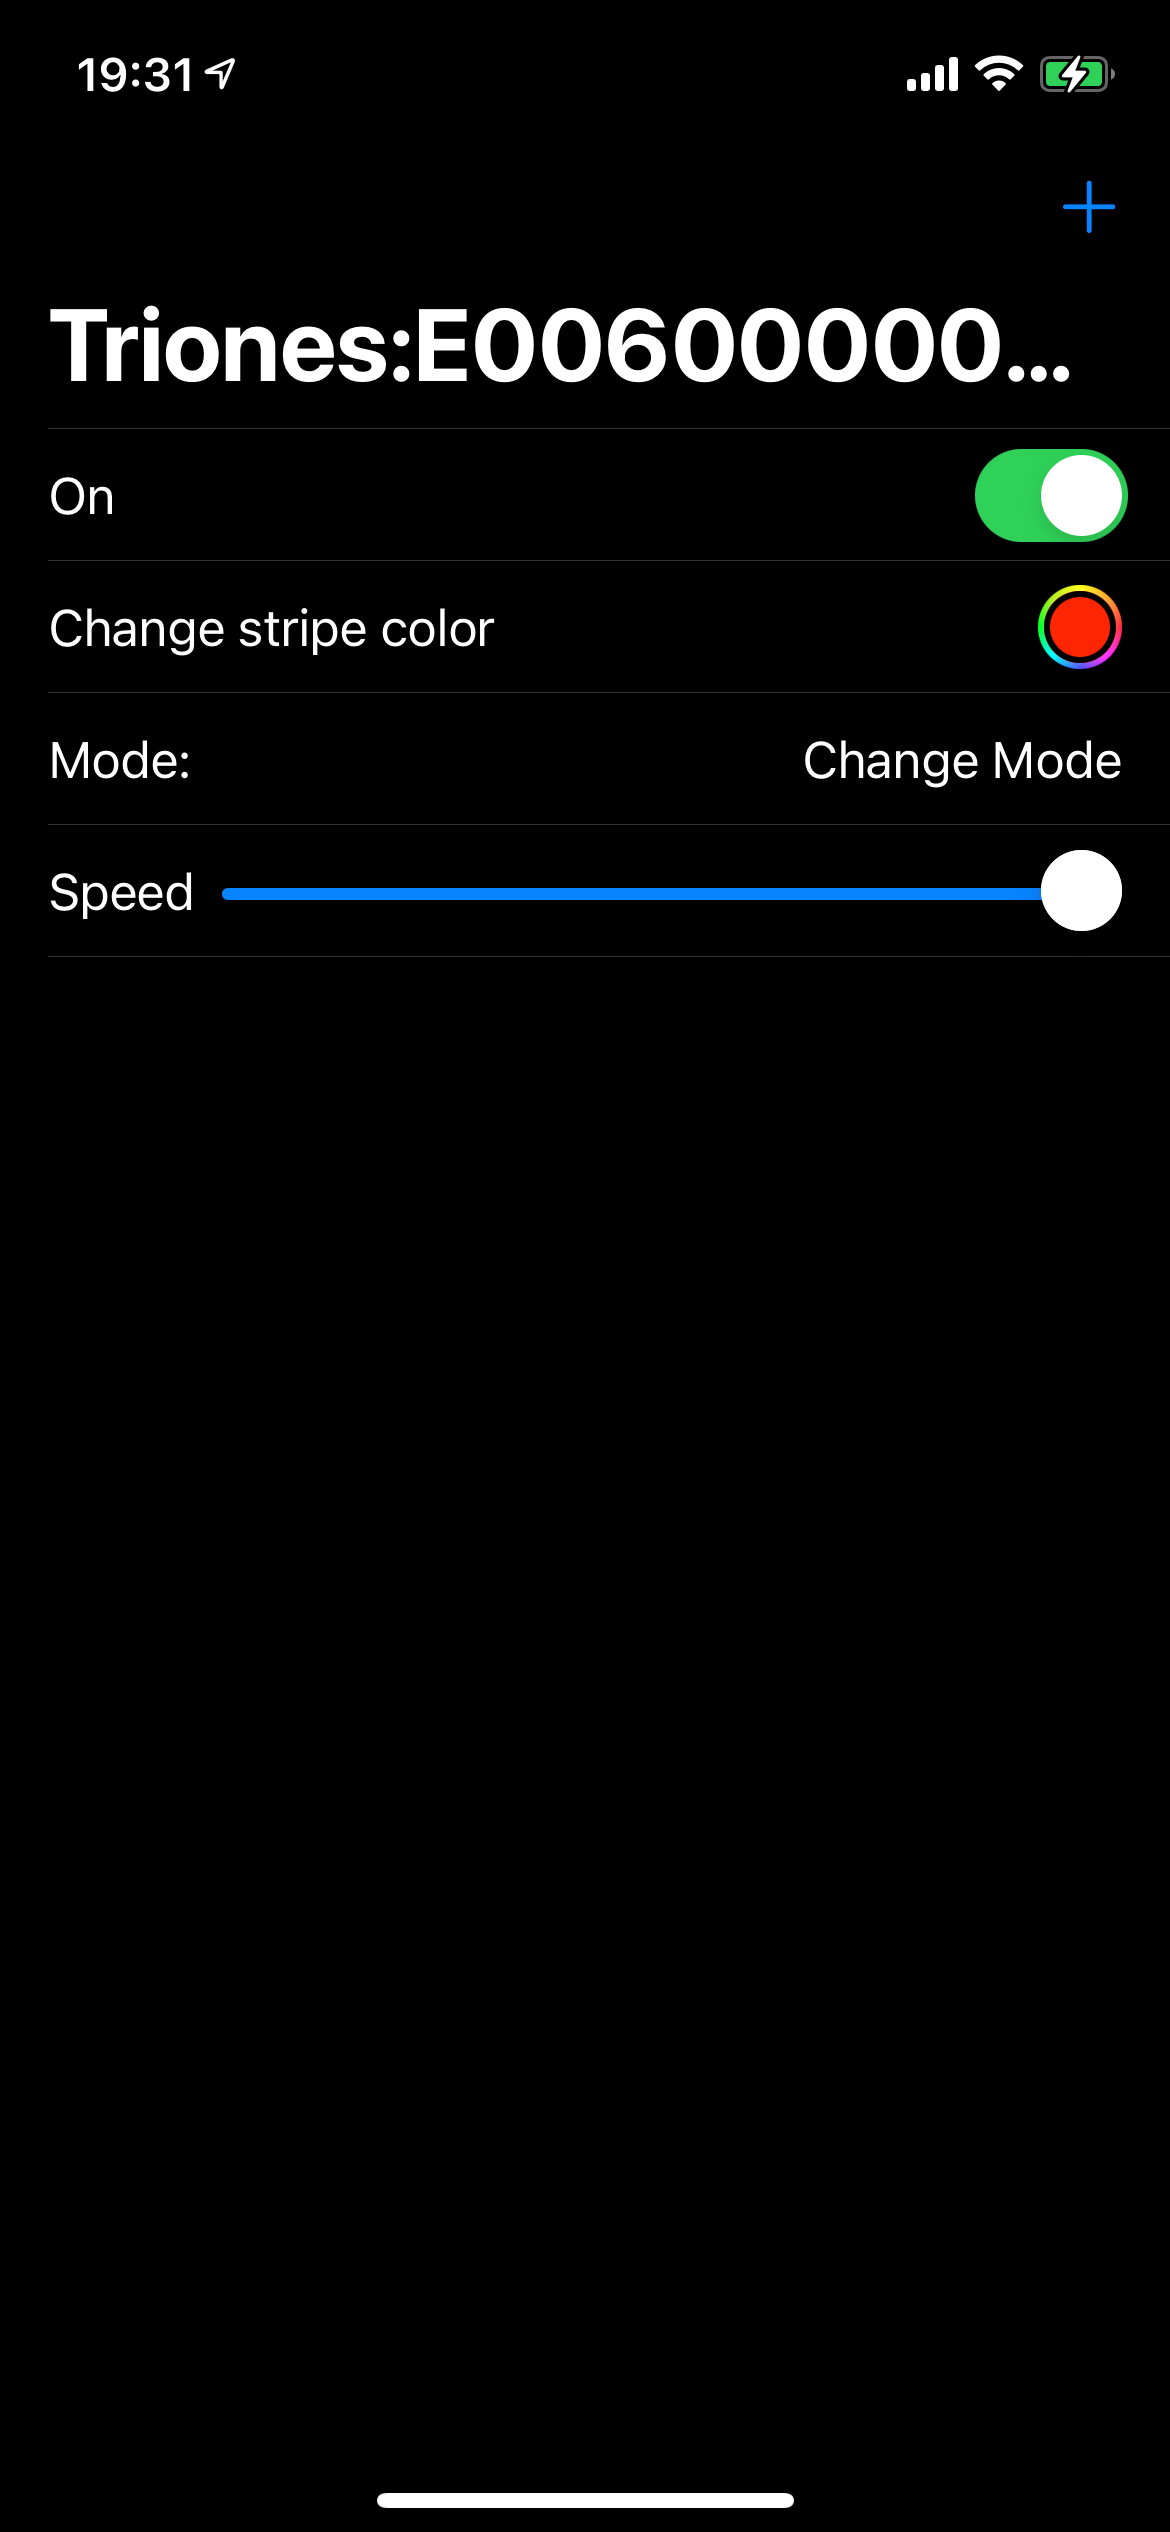
I'm an iOS developer who learns SwiftUI and Combine, so I decided to write my own app 🧑🏻💻. It's a proof of concept, but in the future, I can add more features like a watchOS companion app, Siri support, widgets, etc. At the end of the article, you can find a link to a Github repo with source code. Here is a final demo:
Bluetooth: Delegates -> Combine
With the power of CoreBluetooth framework, you can check Bluetooth state, scan for peripherals, discover required services and characteristics. By default, it works via Delegate pattern and knows nothing about Combine. If you aren't familiar with CoreBluetooth, I recommend checking this tutorial by Ray Wendenlich team. The basic algorithm for reading and writing data is:
- Find Bluetooth device a.k.a. peripheral.
- Discover its services. Every service is a collection of data related to peripheral features. For instance, heart rate or lightning services.
- Discover characteristics for specific services. Every characteristic provides information about the peripheral state. Also, you can write data for characteristics to update the peripheral states.
I wrote a simple BluetoothManager object that works with CBCentralManager and CBPeripheral and broadcasts any updates. I decided to use Combine for it. With the magic of publishers, I can subscribe to needed updates and filter/map them in a more declarative way.
Here is an example of working with states and peripherals:
import Combine
import CoreBluetooth

final class BluetoothManager: NSObject {

    private var centralManager: CBCentralManager!

    var stateSubject: PassthroughSubject<CBManagerState, Never> = .init()
    var peripheralSubject: PassthroughSubject<CBPeripheral, Never> = .init()

    func start() {
        centralManager = .init(delegate: self, queue: .main)
    }

    func connect(_ peripheral: CBPeripheral) {
        centralManager.stopScan()
        peripheral.delegate = self
        centralManager.connect(peripheral)
    }
}

extension BluetoothManager: CBCentralManagerDelegate {

    func centralManagerDidUpdateState(_ central: CBCentralManager) {
        stateSubject.send(central.state)
    }

    func centralManager(_ central: CBCentralManager, didDiscover peripheral: CBPeripheral, advertisementData: [String : Any], rssi RSSI: NSNumber) {
        peripheralSubject.send(peripheral)
    }
}
In the app views, I subscribe to required subjects and show related states. Here is an example of discovering services:
manager.servicesSubject
    .map { $0.filter { Constants.serviceUUIDs.contains($0.uuid) } }
    .sink { [weak self] services in
        services.forEach { service in
            self?.peripheral.discoverCharacteristics(nil, for: service)
        }
    }
    .store(in: &cancellables)
To work with specific devices, you must know identifiers for services and characteristics to read and write data. Unfortunately, my controller has no documentation about its protocol, but I found an awesome description on Github. The author reverse-engineered the protocol and described almost all data formats. They look strange and have plenty of magic constants, but who don't use them in projects 😅. I added the required identifiers to the app based on the documentation used them for filtering:
enum Constants {
    static let readServiceUUID: CBUUID = .init(string: "FFD0")
    static let writeServiceUUID: CBUUID = .init(string: "FFD5")
    static let serviceUUIDs: [CBUUID] = [readServiceUUID, writeServiceUUID]
    static let readCharacteristicUUID: CBUUID = .init(string: "FFD4")
    static let writeCharacteristicUUID: CBUUID = .init(string: "FFD9")
}
SwiftUI: states and view models
For every view in the app I added view model to split layout and business logic. View models support ObservableObject protocol, work with BluetoothManager, manage subject subscriptions, and have @Published for view updates. The downside of this approach is no convenient way to pass BluetoothManager to every model. Initially, I wanted to use @EnvironmentObject and pass it to all child views, but it works well only in View itself. Finally, I just added it lazily to all view models:
import SwiftUI
import CoreBluetooth
import Combine

final class DevicesViewModel: ObservableObject {

    @Published var state: CBManagerState = .unknown
    @Published var peripherals: [CBPeripheral] = []

    private lazy var manager: BluetoothManager = .shared
    private lazy var cancellables: Set<AnyCancellable> = .init()

    deinit {
        cancellables.cancel()
    }

    func start() {
        manager.stateSubject
            .sink { [weak self] state in
                self?.state = state
            }
            .store(in: &cancellables)
        manager.peripheralSubject
            .filter { [weak self] in self?.peripherals.contains($0) == false }
            .sink { [weak self] in self?.peripherals.append($0) }
            .store(in: &cancellables)
        manager.start()
    }
}
Views create their own model and handle it with @StateObject:
struct DevicesView: View {

    @StateObject private var viewModel: DevicesViewModel = .init()
}
Ping me if you're good in SwiftUI dependency injection topic, I really appreciate feedback for this logic.
Debugging the app, I found that onAppear called twice for some views. People on forums confirm it and fill radars. In the app, I just added a silly check with a state flag:
struct DeviceView: View {

    @State private var didAppear = false

    var body: some View {
        content()
            .onAppear {
                guard didAppear == false else {
                    return
                }
                didAppear = true
                viewModel.connect()
            }
    }
}
I didn't want to reinvent the color wheel and used ColorPicker for color selection:
ColorPicker("Change stripe color",
            selection: $viewModel.state.color,
            supportsOpacity: false)
I used it in UIKit projects a few times, you can just show it on any user action. But in SwiftUI it shows a default interface with no customization.
There are two options for selection binding — Color and CGColor. I choose the second one because it is easy to get color components from it.
Conclusion
The more I use SwiftUI, the more I like its concepts. In pair with Combine, it makes app logic more expressive. And I'm still sure that developing pet projects are a great way to combine fun and learning.
The final project is available on Github. Feel free to check it and share your feedback. Thanks for reading!